Is there a difference between ground, flaked and whole almonds when making almond milk?
I started hearing through various sources how great making your own almond milk is. I do like almond milk for a change, although I do largely prefer to stick to unsweetened soya.
Now I wasn’t really sure which type of almonds to use for making milk. Most recipes seem to use whole skinned almonds but I find the skins of these to be a little bitter. What better test therefore to try a few different forms of almonds and have a go at making some milk!
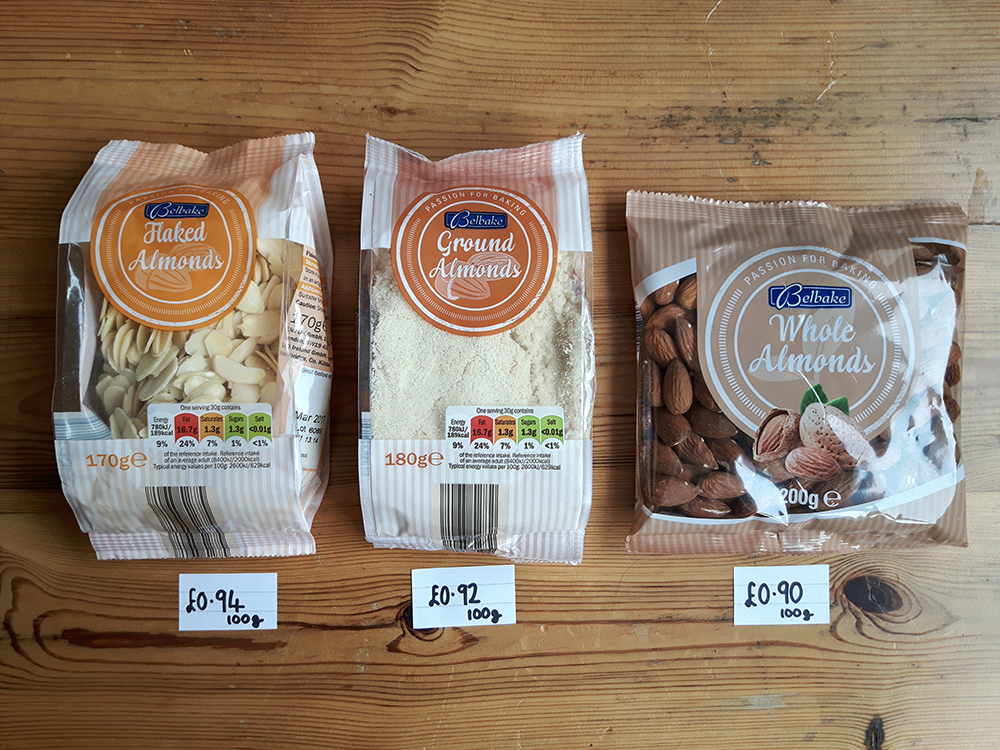
Here’s what I bought, all from Lidl for compatibility. Prices are very similar really. I suspect whole almonds at least could be got for a lot less elsewhere.
The first stage is to soak them overnight or 24 hrs. I used 1/3 cup so that I wouldn’t end up with heaps of milk. You can rinse them if you like. Cover in water and leave to one side.


The next morning is when the fun starts. The almonds should have plumped up really nicely.


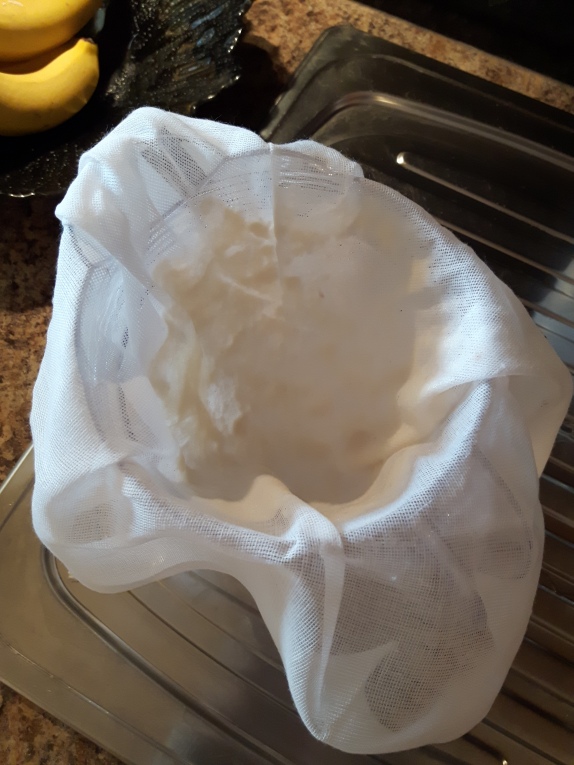
Next give them a really good rinse under the tap. You’ll need to wash the ground almonds through a cheese or muslin cloth placed on a sieve – this is obviously an extra step here for this one. I find this set-up works well. Some people like to use a Nut Bag.


Next get out your blender of choice. The almonds are quite soft so there wasn’t too much worry about damaging the blades. If you don’t soak the almonds then it may be an issue for dodgy blenders! Add the almonds and blend. Start with a small amount of water. I added 1 cup to my 1/3 cup almonds and it resulted in a far too watery a milk. I would recommend starting with equal quantity almonds to water and work your way up.


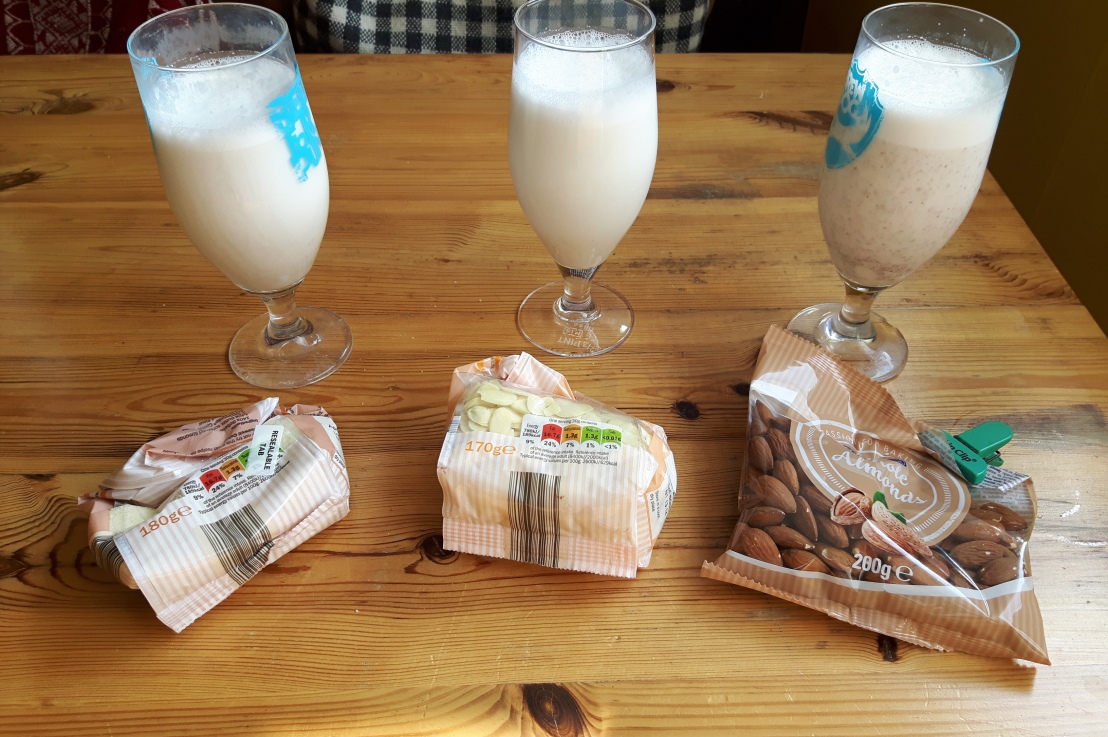
After blending I gave them a taste. You can clearly taste the skins at this stage and there were quite a few lumpy bits coming out with the whole almonds despite blending it for longer. The ground and flaked almonds were identical. Now you could just use them at this stage. But I decided to filter them for a smoother milk.
Use the same set-up as before with the ground almonds except that this time you want to keep the milk. Give the cloth a really good squeeze once everything has gone through to get out all the last juices. You’ll be left with an almond cake which I found a bit tasteless but I’ll find something to do with it.


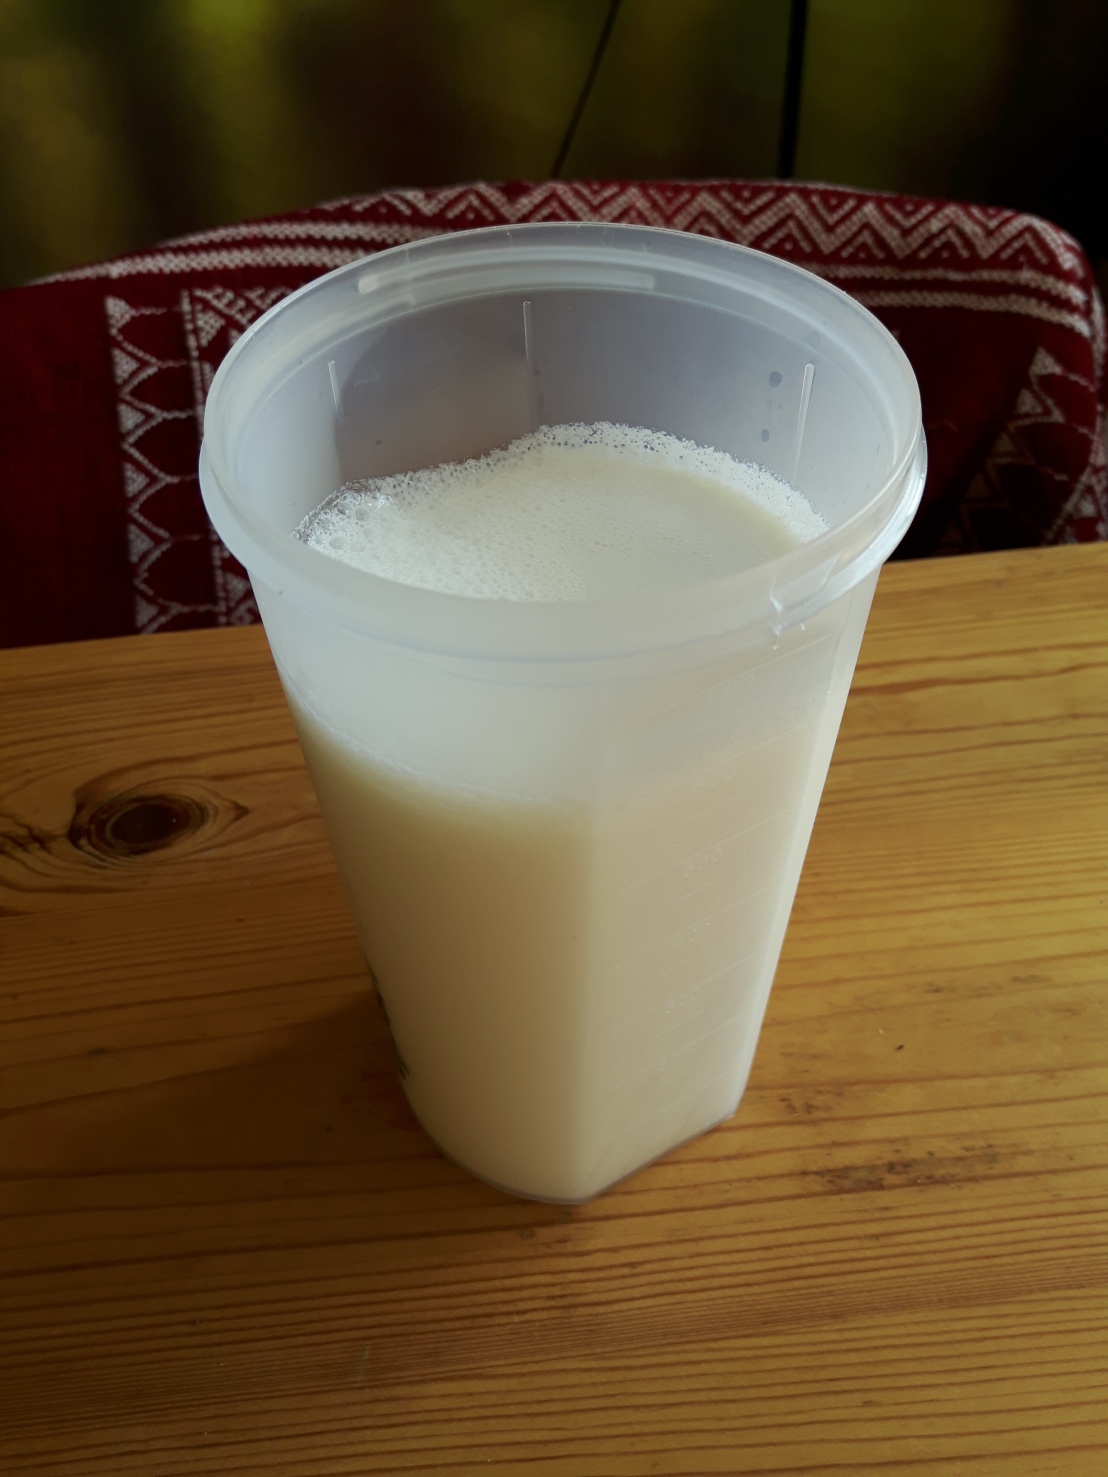
So this is what I was left with at the end. The amounts of left over almond bits were about the same in each case. I tasted the different milks again at this stage and they all tasted the same. So I mixed them all together and decided to heat them up to pasteurise them to make it last a little longer……
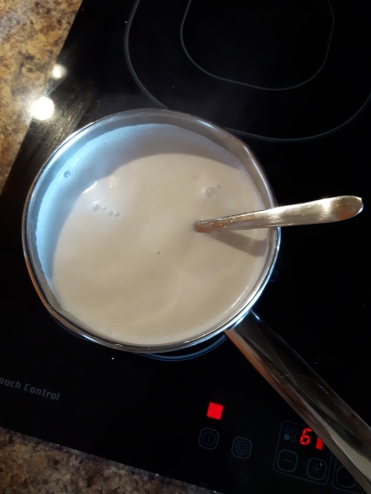
I did this a little wrong as I boiled the milk – do not do this as it will split!! I’ve done this so you don’t have to 😉 I was thinking at the time that it only needs to go to 70oC or something but continued to boil it anyway! Still tastes alright though.
To be honest I need to work on the ratios a little. I found this far too watery but at least I can say that the ground, flaked and whole almonds all pretty much tasted the same after filtering! It seems to remove the bitter skins from the whole almonds if you aren’t so fond of them.
Have you tried making your own nut milk?
Annette X

Yummy ❤
LikeLiked by 1 person
Thanks! Next time I’m going to try making it a bit stronger because this one was a bit watery… always room for improvement 😀
LikeLiked by 1 person
This is a great step by step. Ive made my own almond milk and I like to add alittle agave syrup and vanilla and a touch of salt to give it a really nice and rich taste.
LikeLike
Hi! Thank you. Great idea to add those things! Will have to try and experiment a bit more. May even add some cocoa powder and maple syrup mmmmmm 😀
LikeLike
Oh yes that sounds delicious. I might steal that idea for the next batch 😉
LikeLiked by 1 person
Cool! I’d love to hear how you get on 🙂
LikeLiked by 1 person
I will let you know!
LikeLiked by 1 person